Running Python
Getting Started
Before we begin, please ensure that you have successfully followed the installation steps and miniforge is installed on your machine.
Now navigate to the folder ip_python that we created during the installation session and create a new folder called introduction under it. We will use ip_python/introduction as our working directory for this session.
Open the command-line terminal (or the Miniforge prompt on windows) and then navigate to the folder ip_python/introduction using the cd command.
Finally, activate the ipp_analysis environment:
conda activate ipp_analysis
At this point, the command-line terminal should look something like this:
(ipp_analysis) C:\ip_python\introduction>
We’re all set for executing Python code.
Executing Python
There are several ways for executing Python code, each having its own merits. We begin with the simplest approach i.e. the Python Shell.
Shell
To open Python Shell, simply type the command python in the command-line terminal.
You will observe something like this:
Python 3.12.8 | packaged by conda-forge | (main, Dec  5 2024, 14:24:40) [GCC 13.3.0] on linux
Type "help", "copyright", "credits" or "license" for more information.
>>>
The command-line terminal has successfully launched the Python Shell and it is ready to execute Python code.
Let’s execute the print function:
>>> print("This is executed in the python shell")
The Python interpreter executes this statement and prints the following message on the command-line terminal as instructed:
This is executed in the python shell
We can try a few more statements in the Python Shell:
>>> x = 2
>>> y = 4
>>> print(x + y)
>>> x * y
Although the Python Shell is great for quickly testing a small number of Python statements, it can be a bit cumbersome to use when dealing with a large number of statements. For this reason, it’s helpful to explore Python code execution in a script.
Before proceeding, we must exit the Python Shell by executing the following statement:
>>> exit()
The command-line terminal returns to the earlier state:
(ipp_analysis) C:\ip_python\introduction>
Script
A Python script is a collection of Python statements stored in a file and the entire script can be executed using a single command.
Let’s try to put the same statements from the Python Shell exercise in a script.
Open any text editor (e.g. notepad) and copy-paste the following statements:
x = 2
y = 4
print(x + y)
x * y
Save the file under ip_python/introduction and name it script.py
By convention, files with .py extension are Python scripts.
Now, in the command-line terminal, execute the following command:
python script.py
Python reads the file script.py statement-by-statement from the top to the bottom and executes them. The output from the script is shown on the command-line terminal:
6
Note that only the command with print is shown.
IPython
IPython is a feature-rich interactive shell built on top of the basic Python Shell that we discussed in the previous section. IPython will run your Python code just like the basic Python Shell, however you will have access to extra features when executing your code. In short, it’s more “interactive” than the basic Python Shell - hence the name I(nteractive)Python.
To run IPython, type the following command on your command-line terminal:
ipython
You will observe something like this:
Python 3.12.8 | packaged by conda-forge | (main, Dec  5 2024, 14:24:40) [GCC 13.3.0]
Type 'copyright', 'credits' or 'license' for more information
IPython 8.31.0 -- An enhanced Interactive Python. Type '?' for help.

In [1]:
You can compare this console output with the one that you observed when running the basic Python Shell. You’ll notice that IPython is also using the same Python Shell in the backend. In addition, it’s presenting you an enhanced interface.
As a start, we could begin with the same statements that we executed earlier in the basic Python Shell:
In [1]: x = 2

In [2]: y = 4

In [3]: print(x + y)

In [4]: x * y
We can also run the script file from previous section inside the IPython shell:
In [5]: %run script.py
It is important to note that any variable that is created inside the script file is retained in the IPython Shell after the script has finished its execution.
You can also check detailed information about a particular variable (or object as they call it in Python) that you’ve already created. For example, we’ve already created an object called ‘x’ and we’d like to see some information about it:
In [6]: x?
You can also see the history of statements that you’ve executed before:
In [7]: %hist
To see more on what’s possible with IPython:
In [8]: ?
To terminate IPython:
In [9]: quit
IPython can execute anything that can be executed in the basic Python Shell. In addition, IPython extends the basic Python Shell with a rich set of features and makes it more powerful. To know more about IPython, visit their official website.
JupyterLab
So far we’ve seen how Python code can be executed via the command-line terminal interface.
Next, we’ll explore how JupyterLab allows us to execute Python code via a user-friendly web-based interface.
Running JupyterLab
Open a terminal (or the
Miniforge prompton windows) and run the following command:
jupyter lab
You’ll notice that a web application opens up in your default web-browser and the IPython kernel from the ipp_analysis conda environment is visible in JupyterLab:
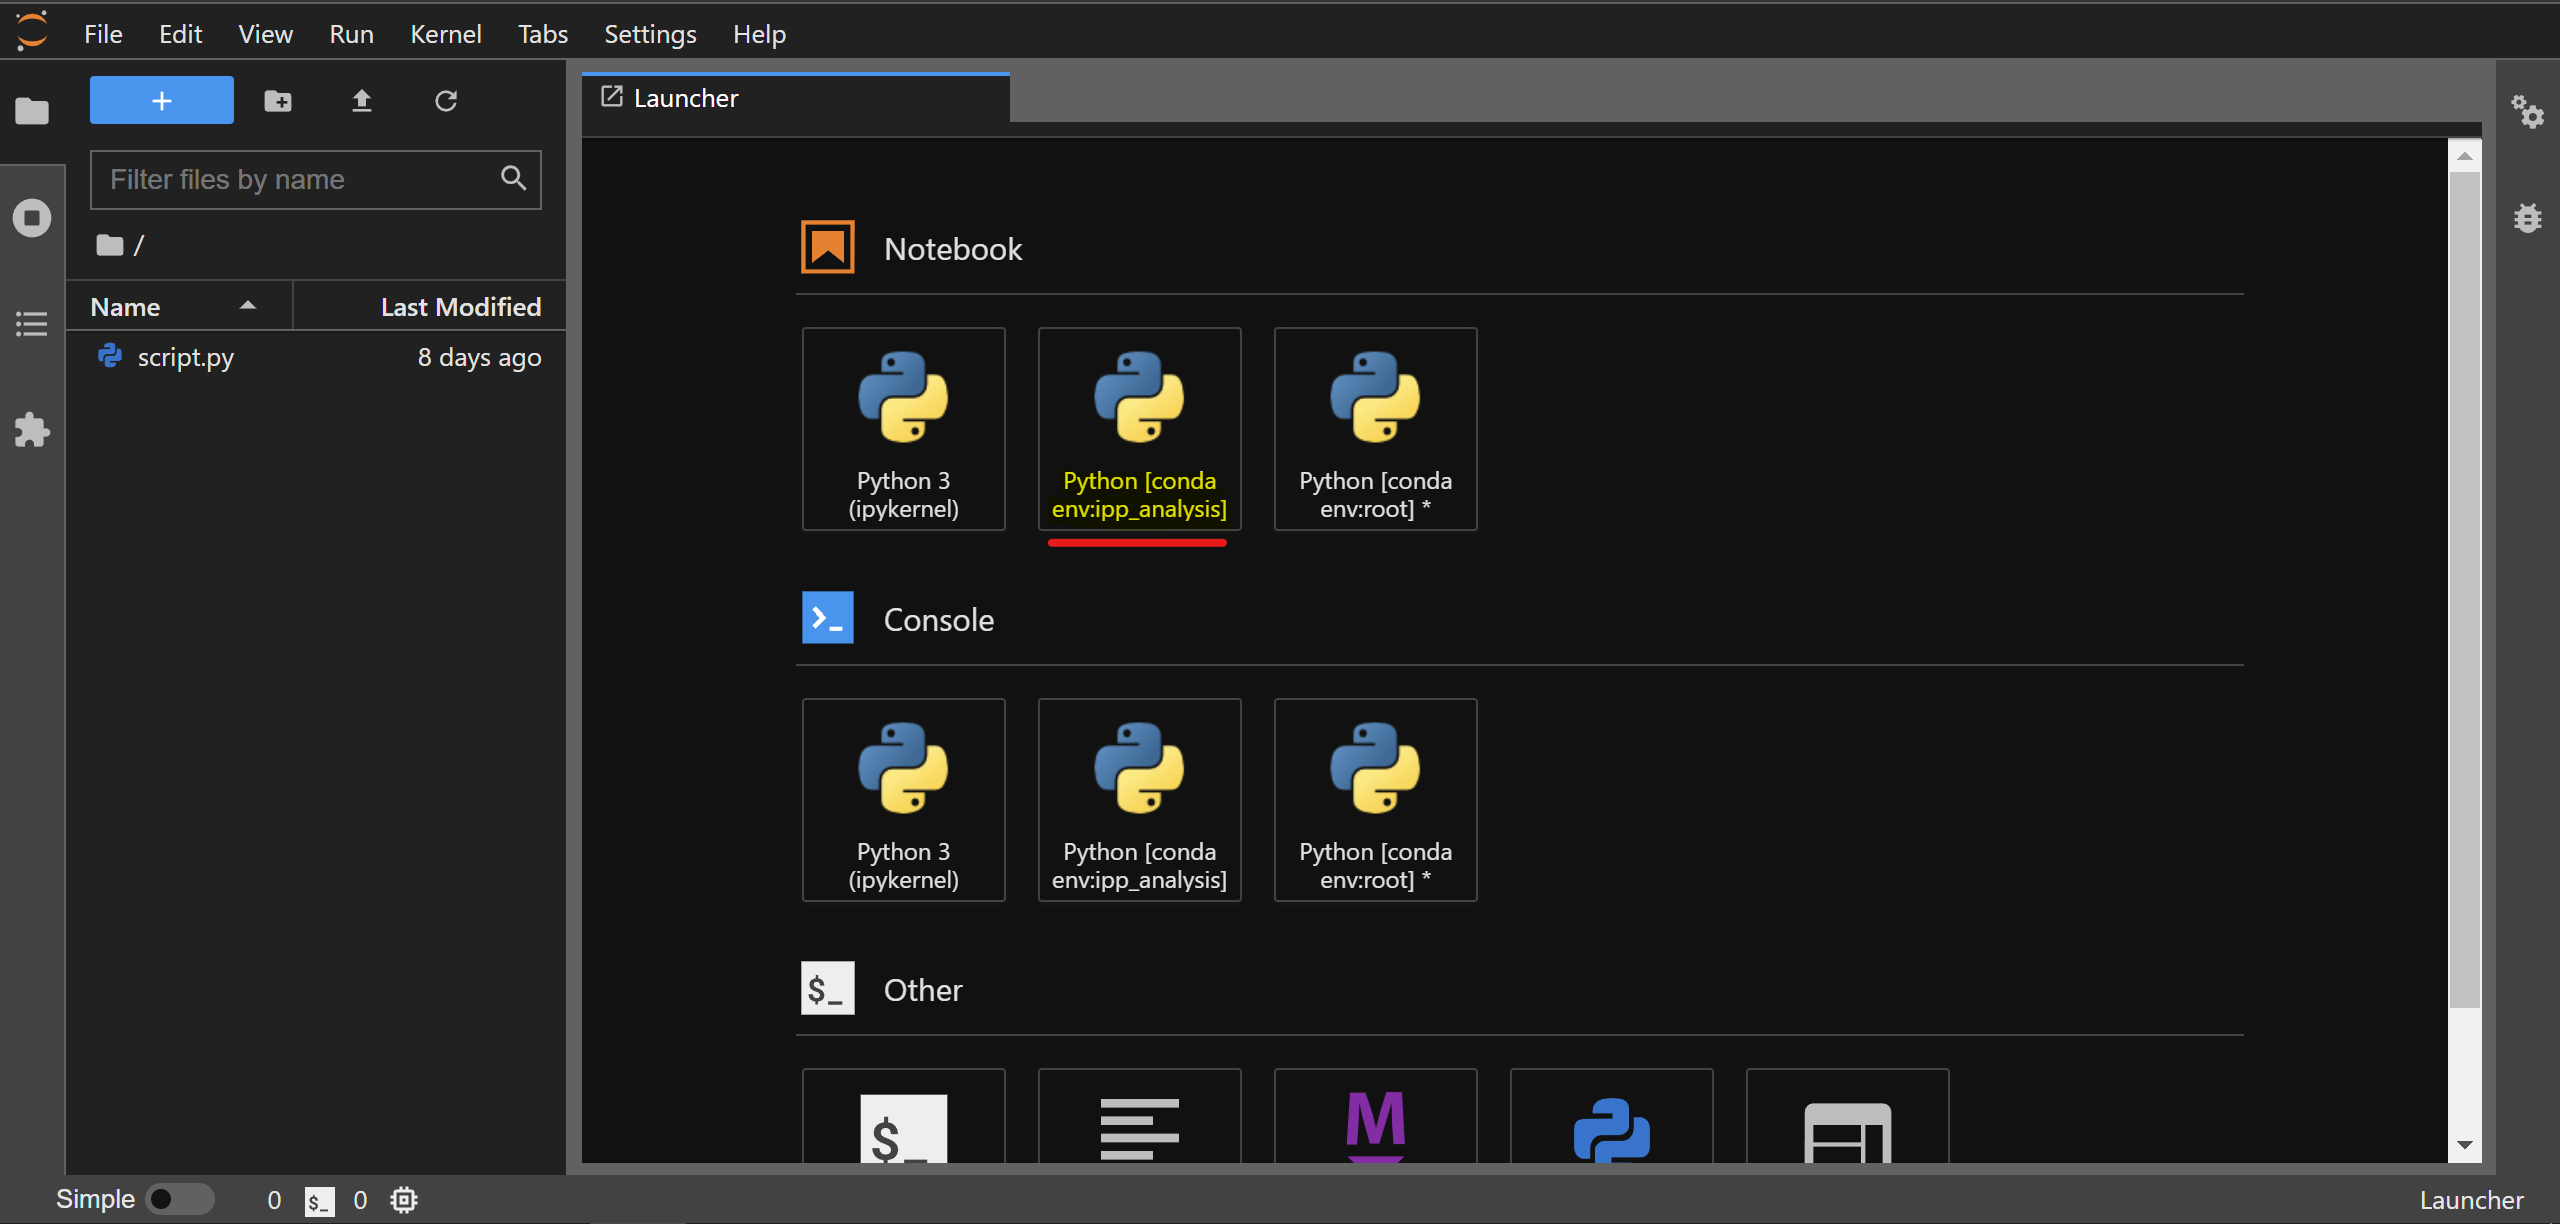
Note: you need the ipykernel package installed in the ipp_analysis environment for this to work.
Creating a notebook
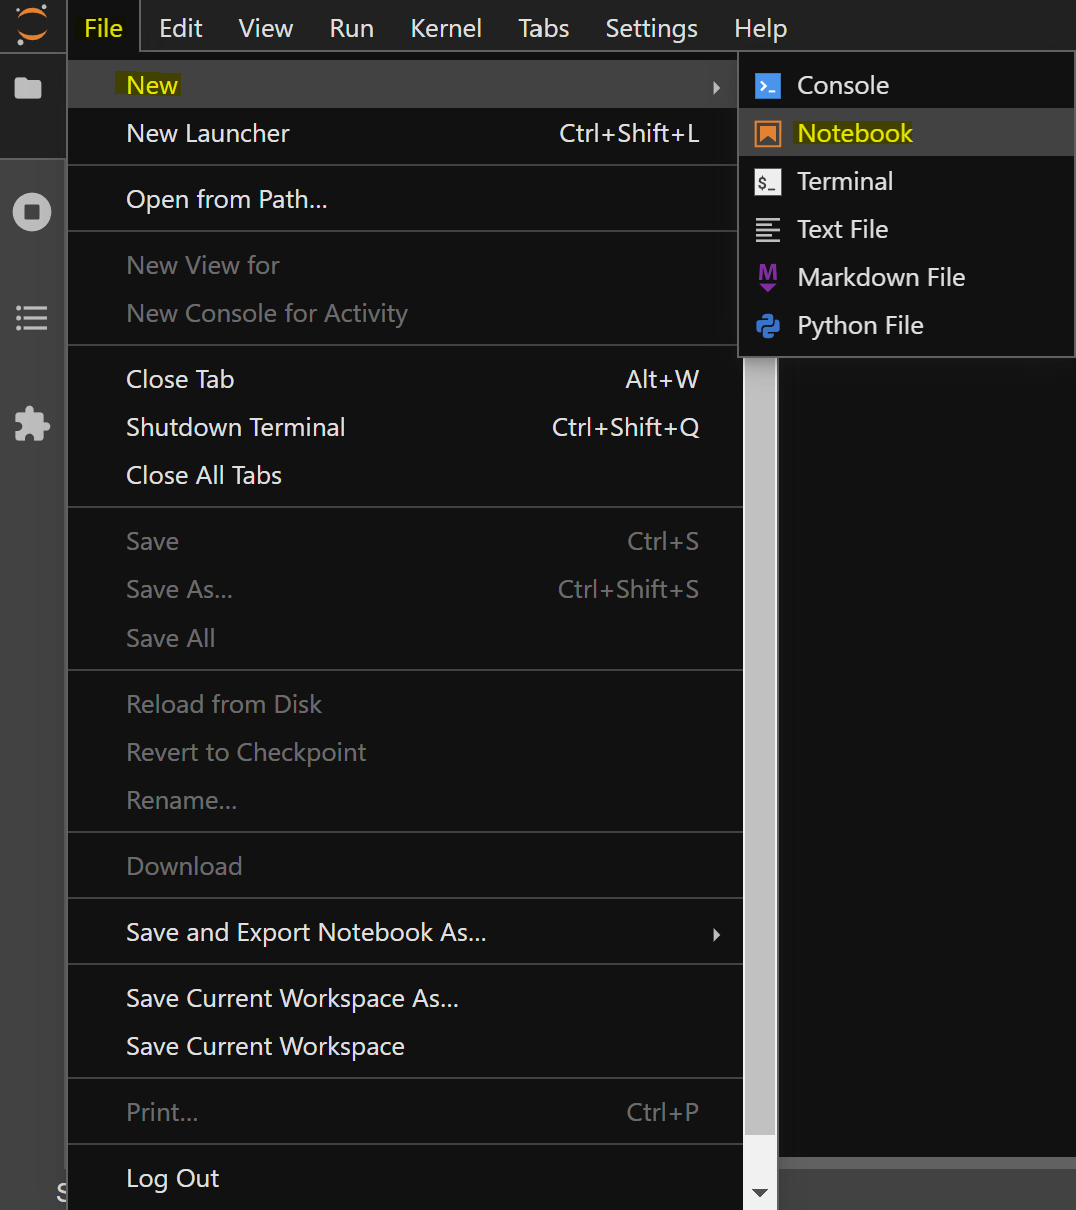
To create a notebook, go to File -> New -> Notebook
You’ll be asked to select a kernel, please choose the one from ipp_analysis:
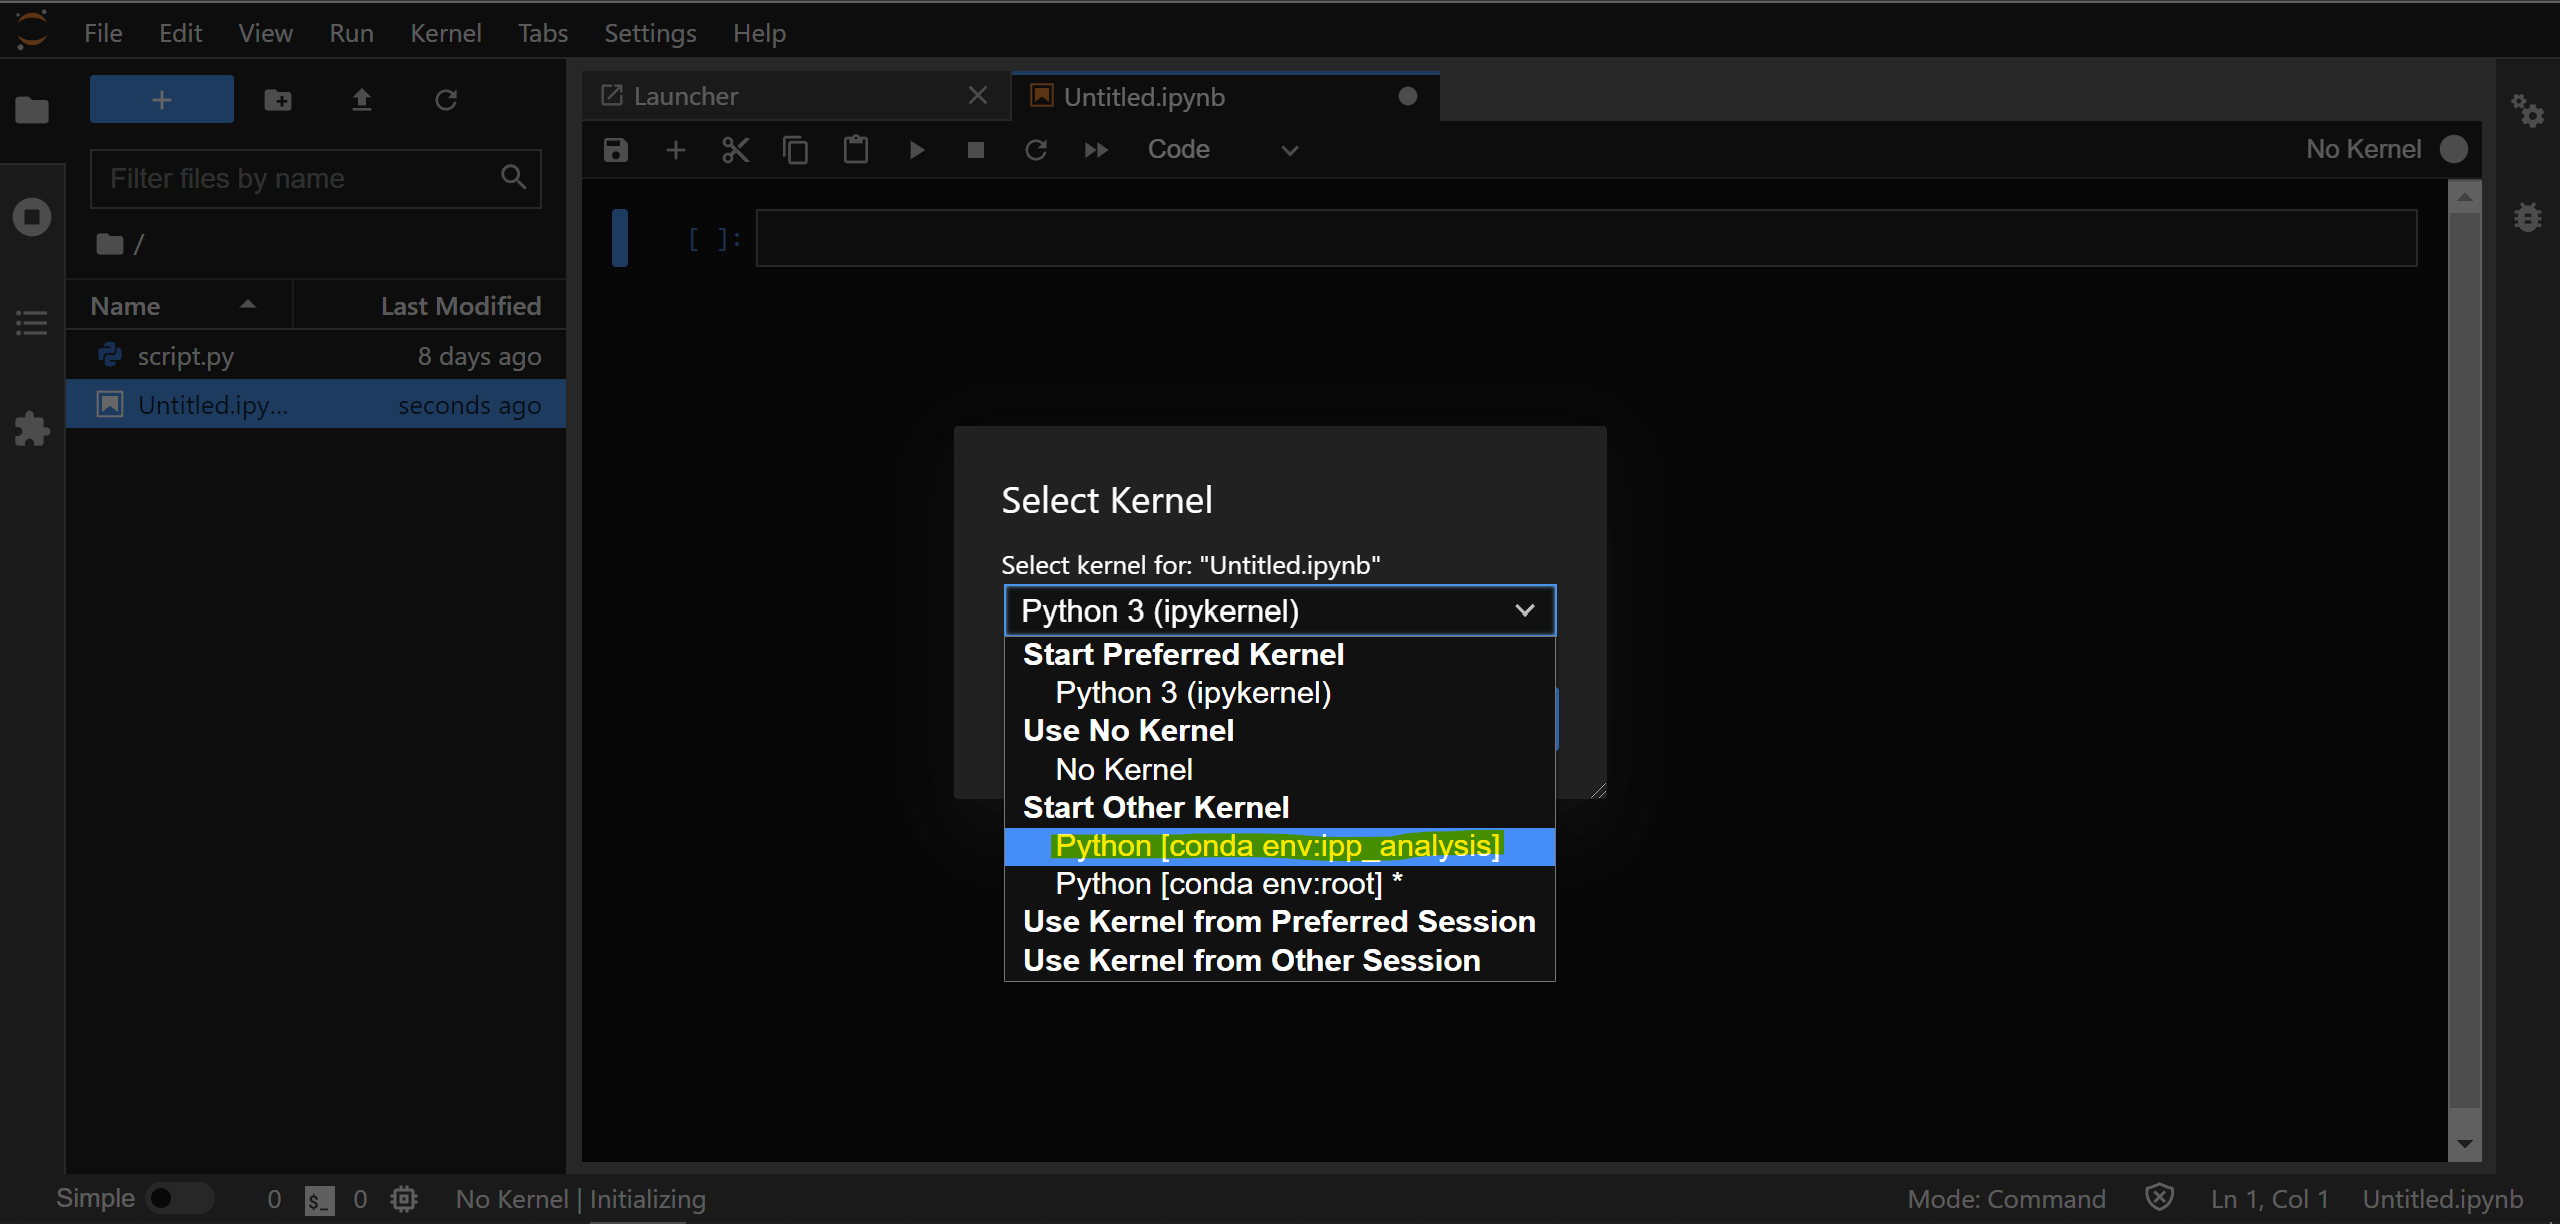
This will run a background IPython process in the ipp_analysis conda environment ready to execute code from your notebook.
Cells
A cell is an input field where you can either write Python code, Markdown text or simple plain text.
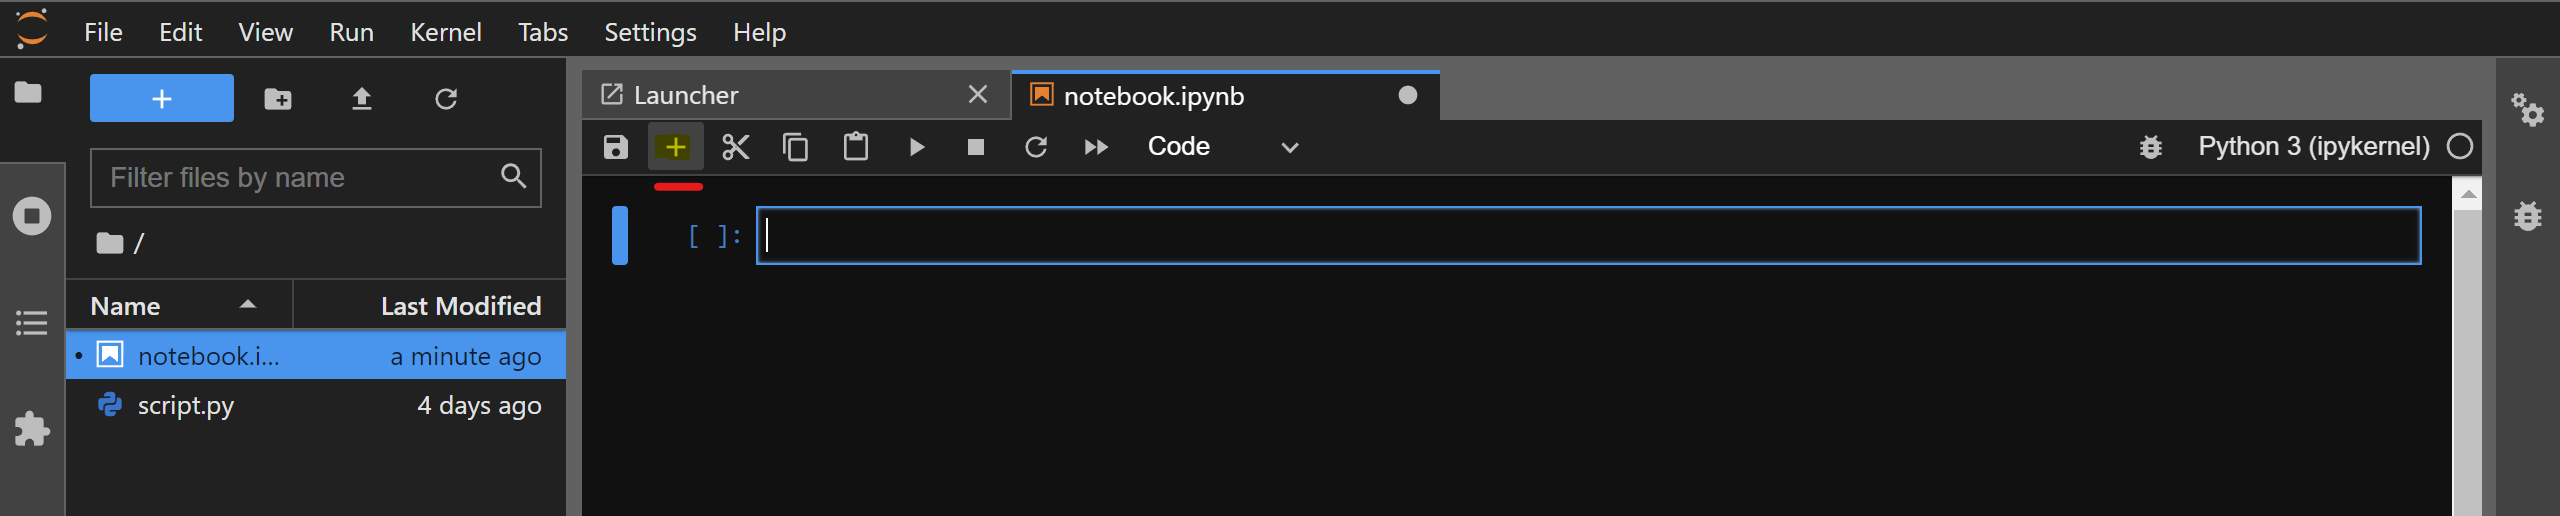
The cell type can be changed by selecting the desired cell and then using the drop-down menu present on the top of your notebook:
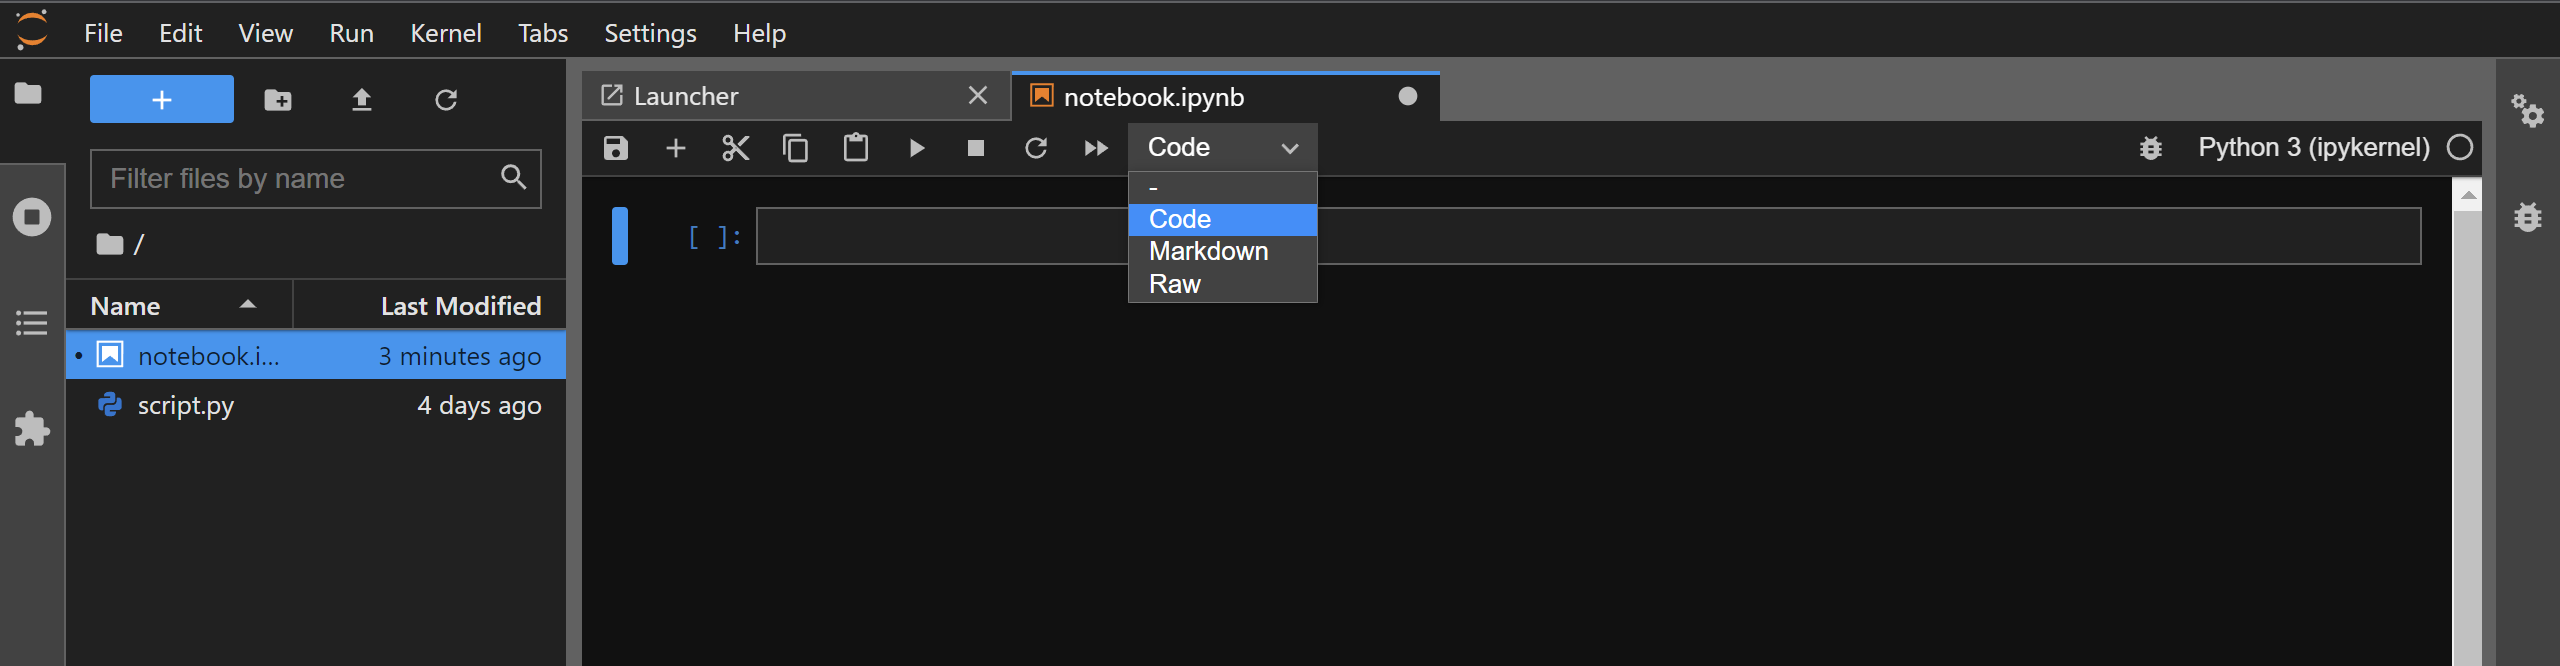
The default cell type is Code for any newly created cell.
To create a new cell, simply click on the + icon present on the top of your notebook:
To delete a cell, select the desired cell and then Right Click -> Delete Cells. You can also select multiple cells by holding the Shift key.
Code cell
The default cell type i.e. Code is used to execute a collection of Python statements just like we execute them in a script.
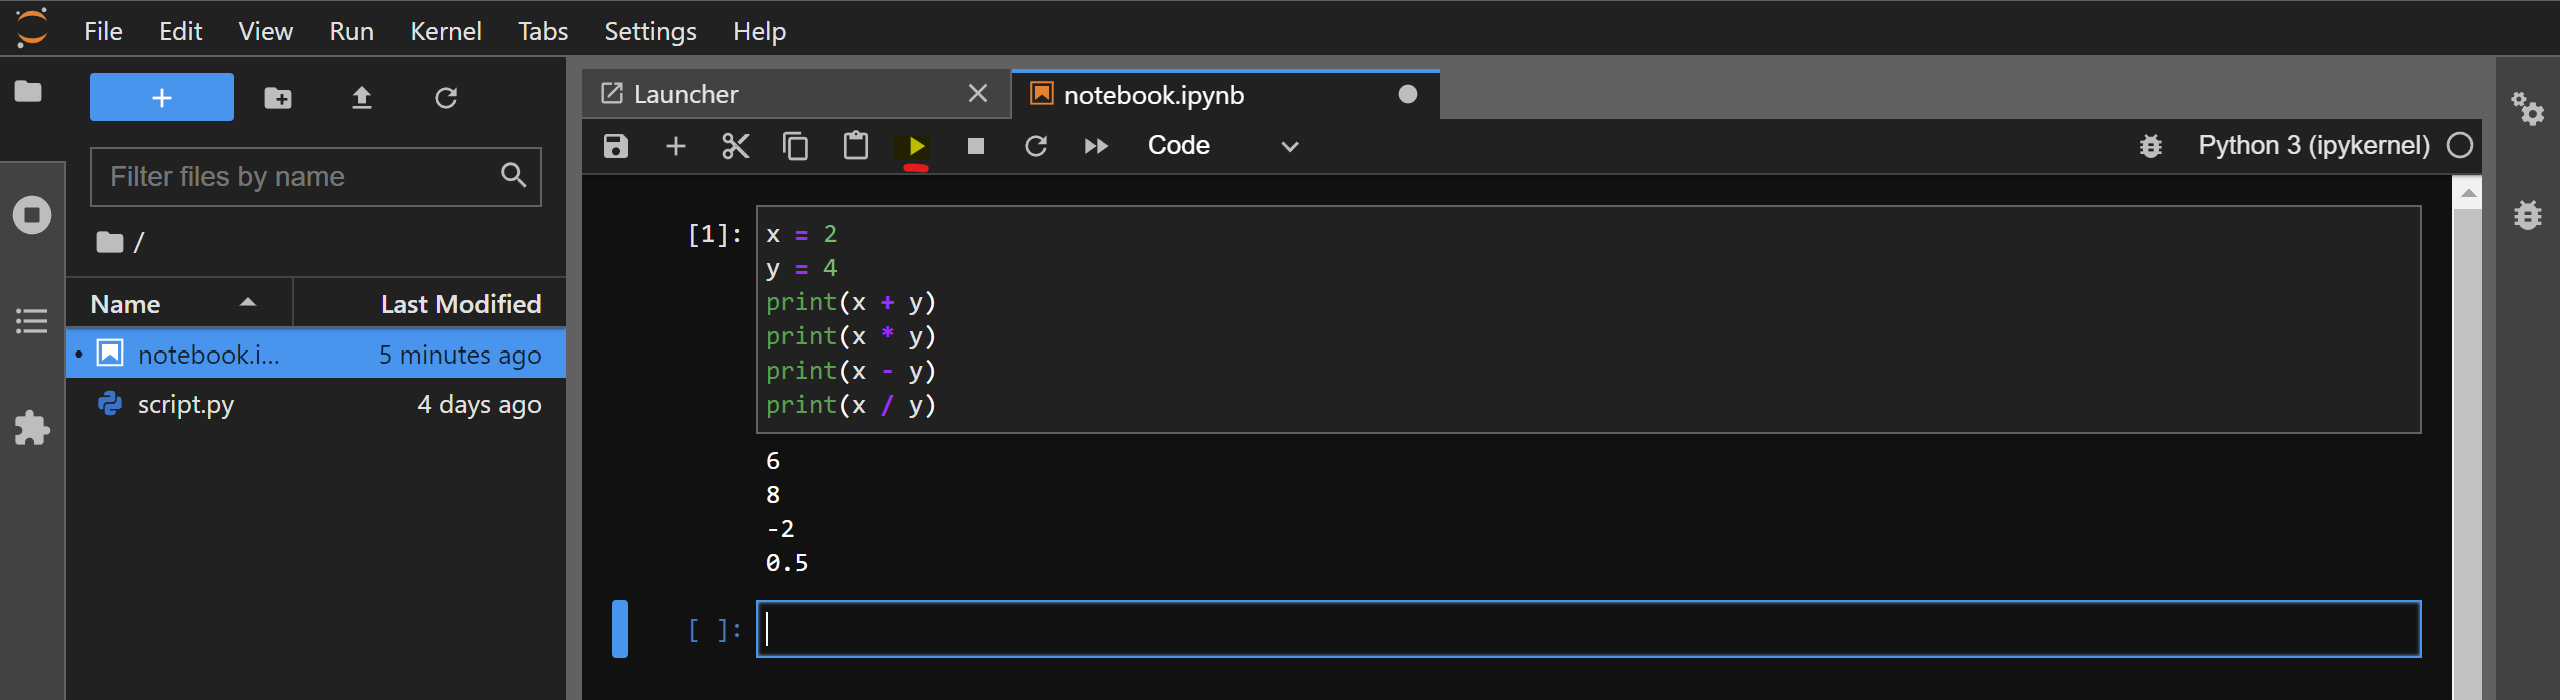
For example, copy-paste the contents of script.py that you created in the previous section and paste them in a code cell. Then, click on the Play button present on the top of your notebook:
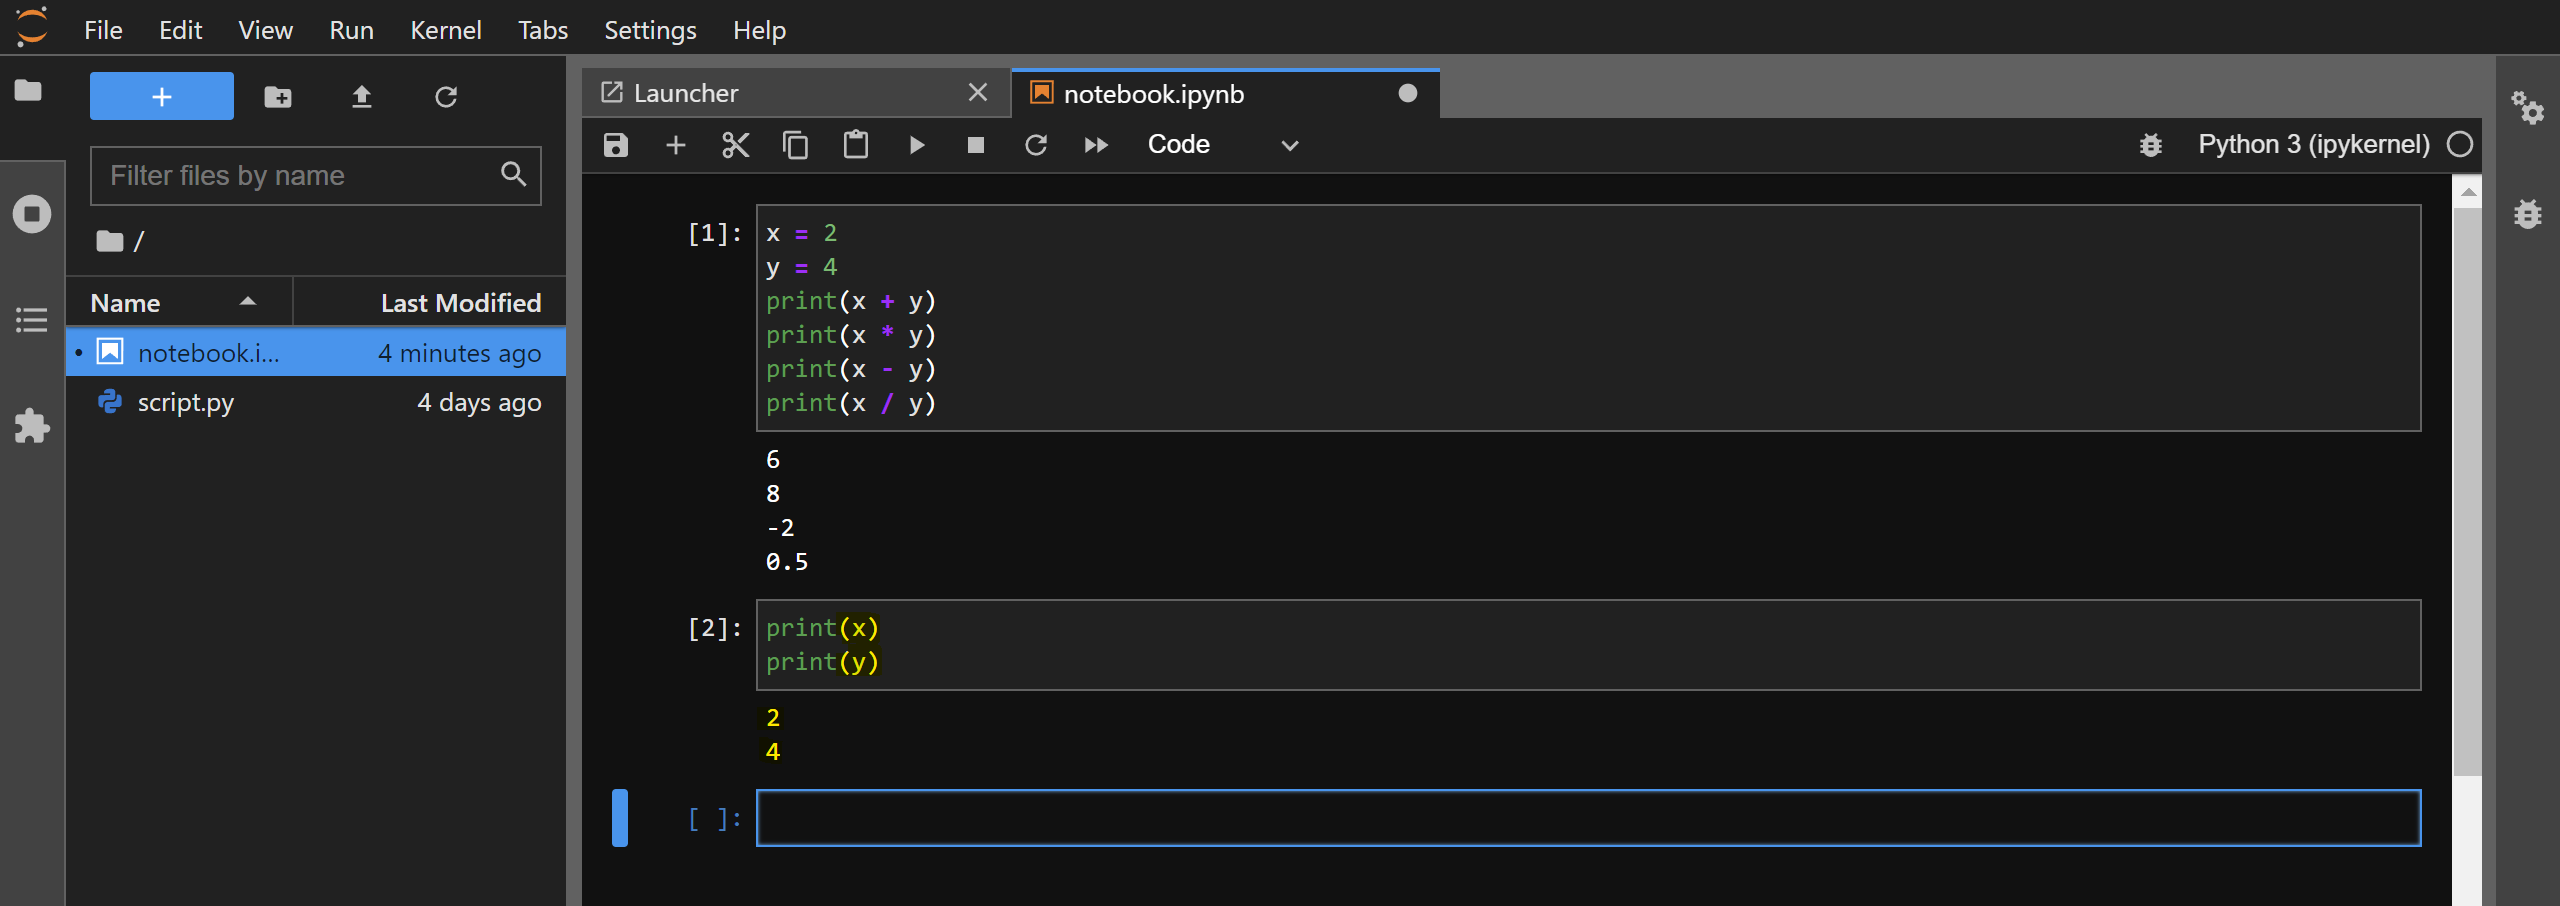
The code will execute in the IPython kernel that is running in the background and the console output will be shown to you. You can consider it as equivalent of running the %run command in IPython on your code cell. Note that the variables will retain their values as you execute code in other cells. You can confirm this by printing the value of x and y in a newly created cell:
Markdown cell
Markdown cells contain text that follows the Markdown language. These cells are useful for providing documentation to explain your notebook’s workflow.
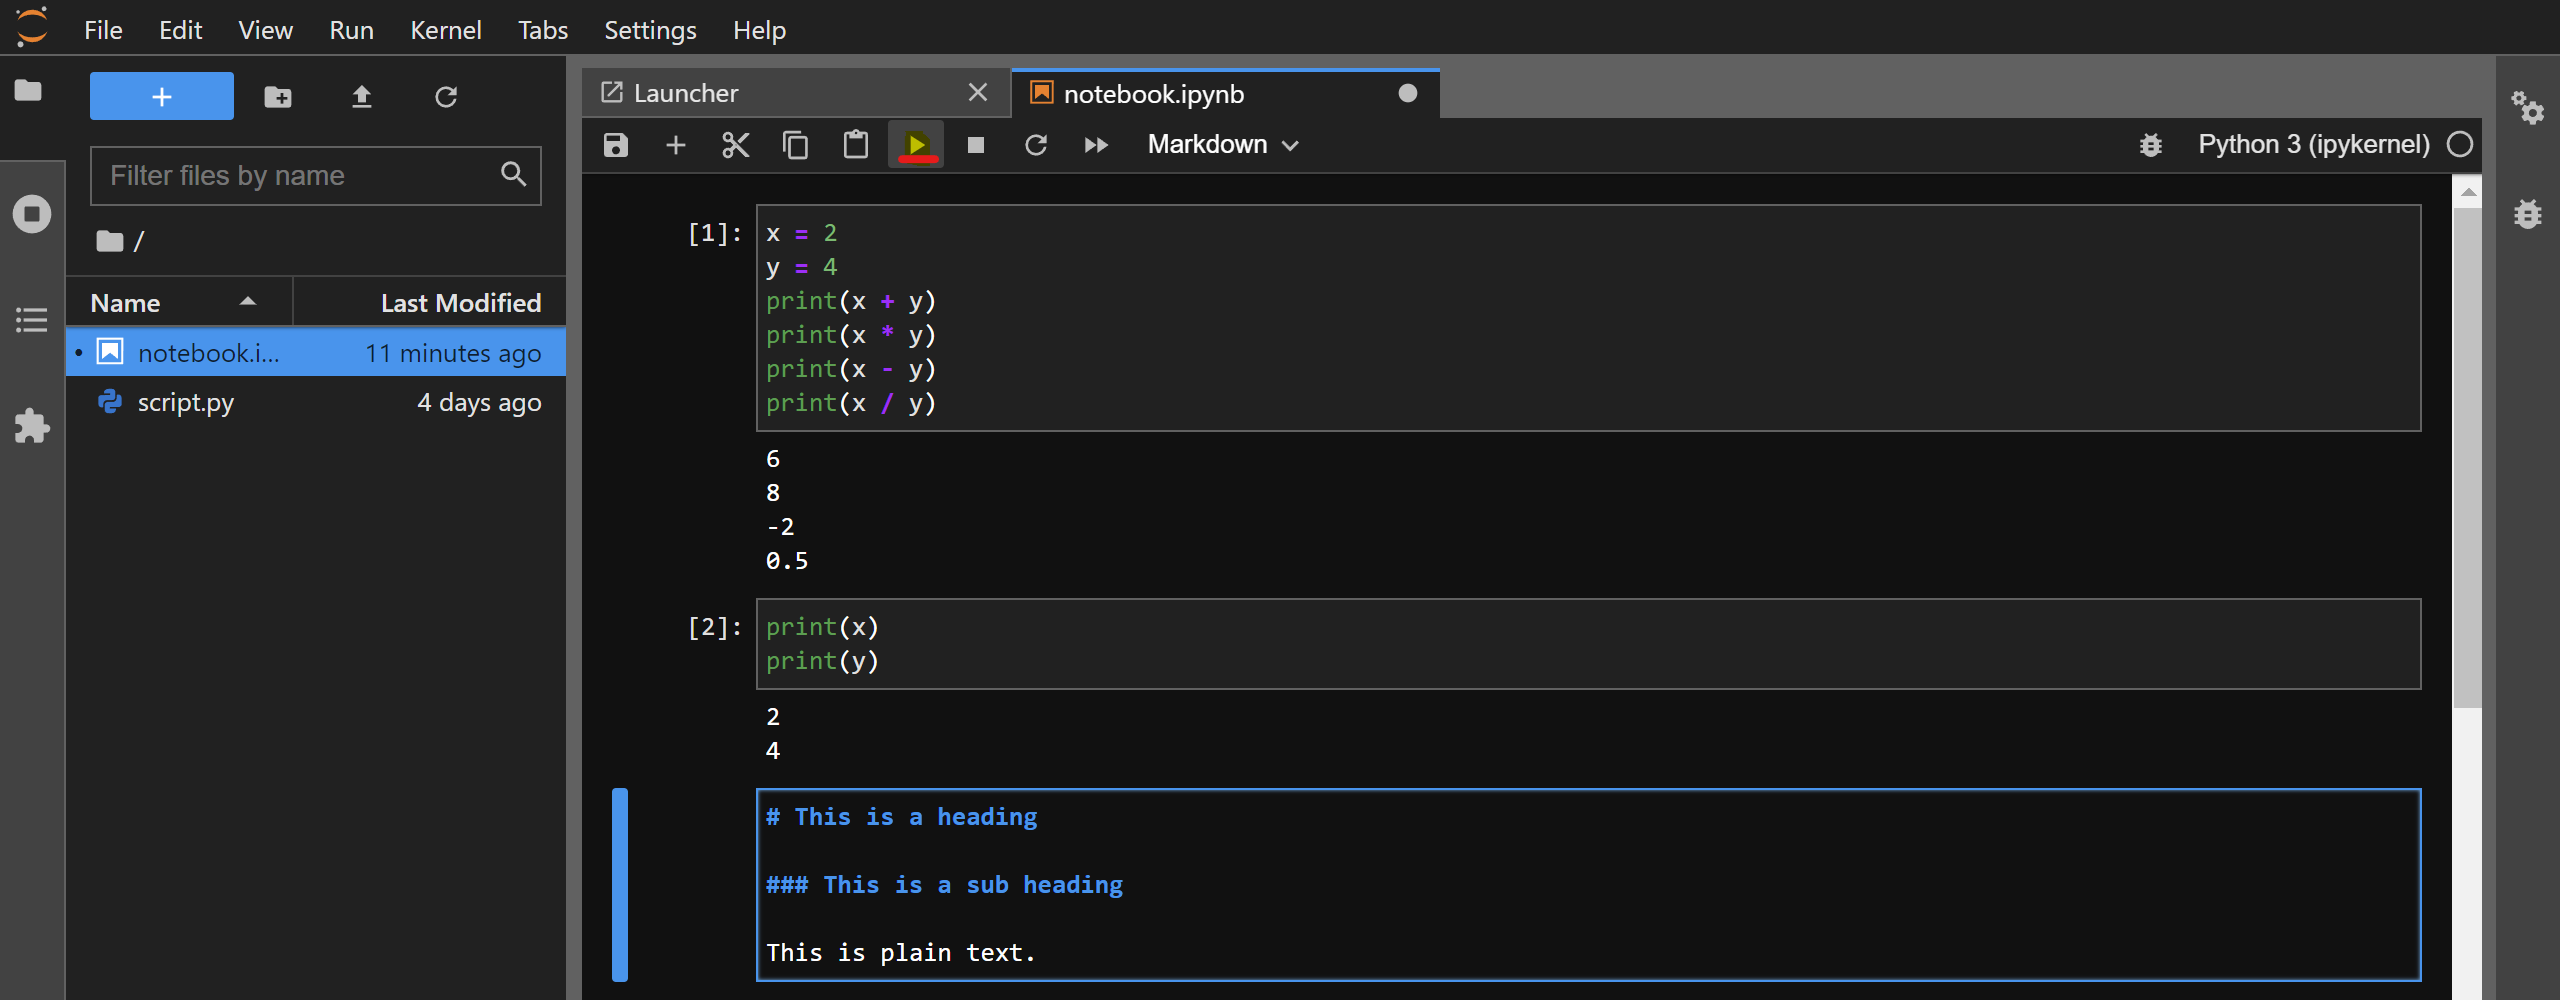
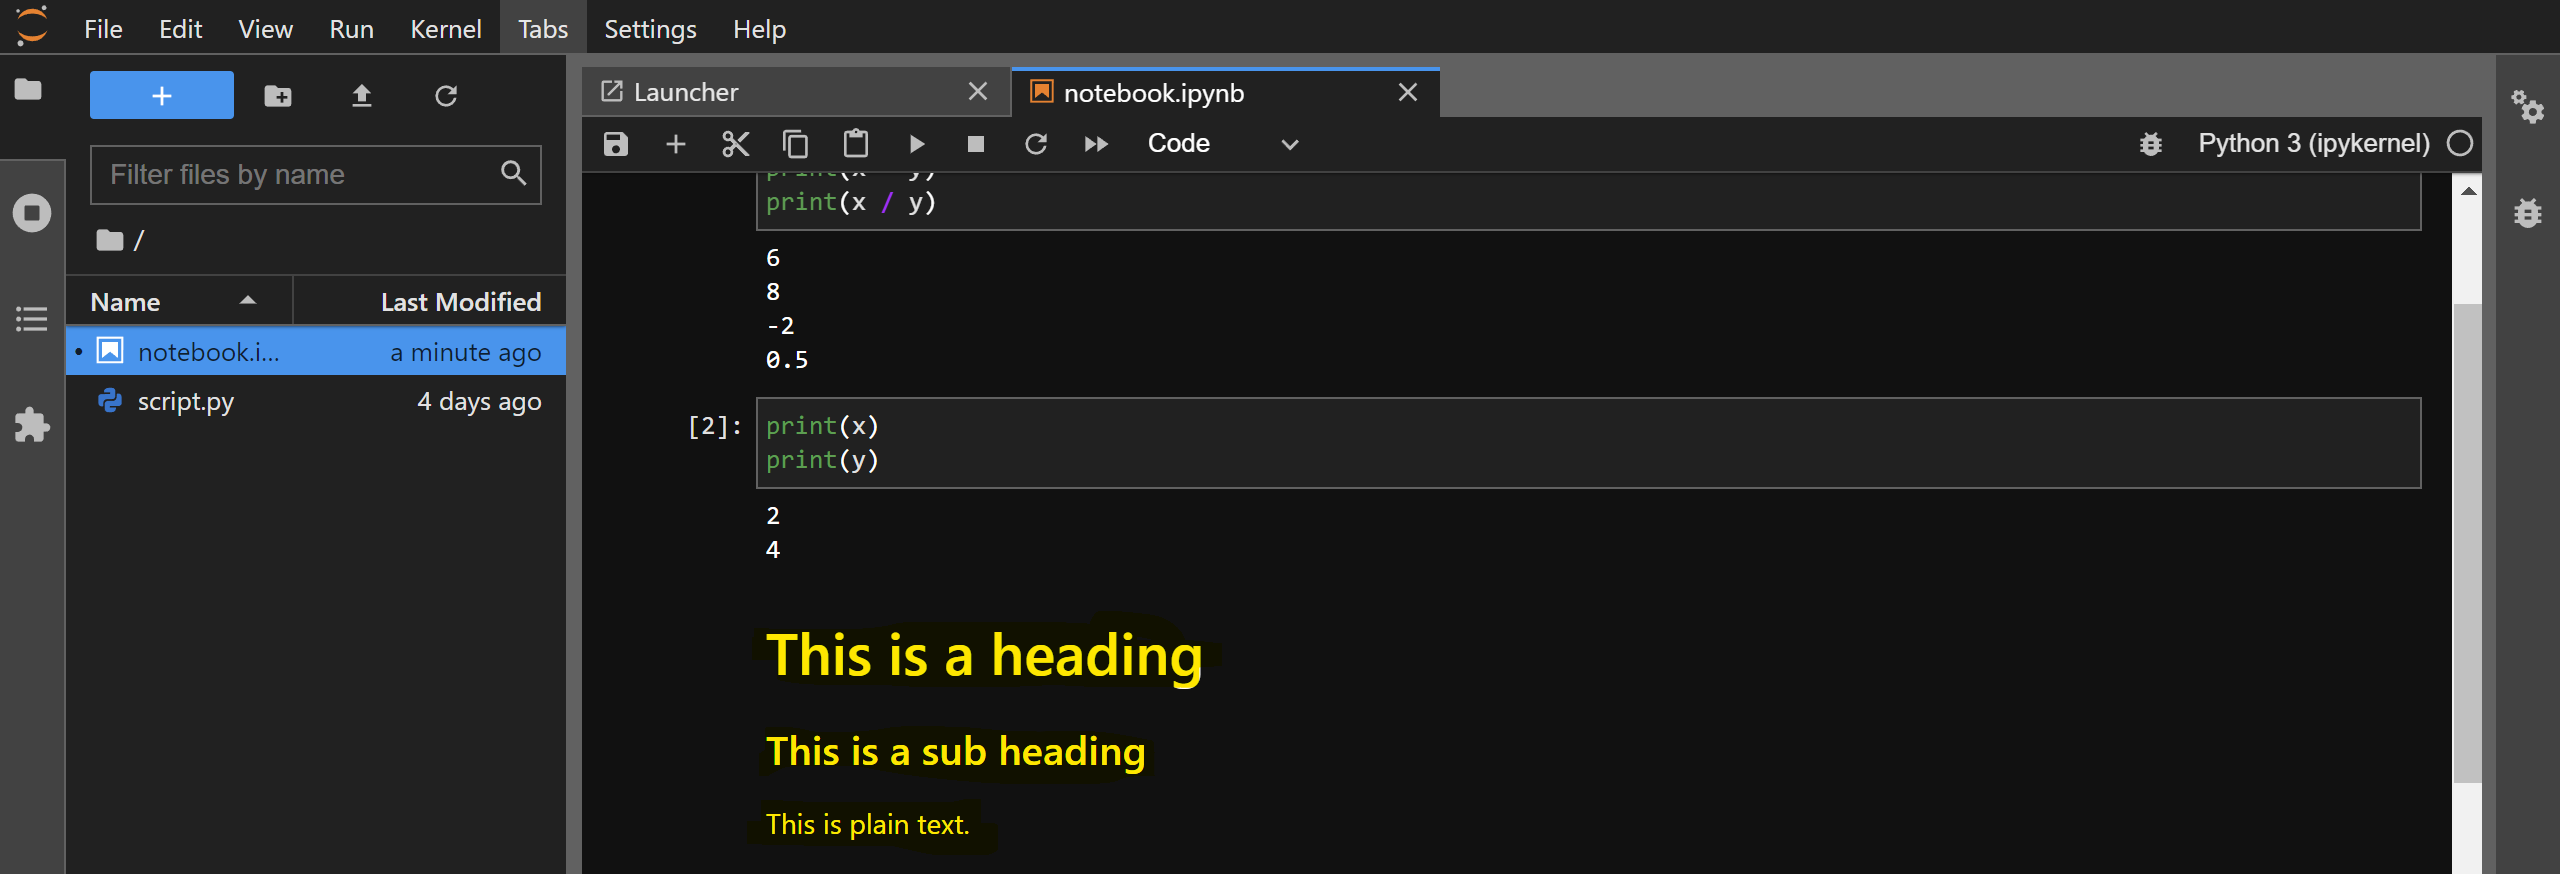
For example, you can create a new cell and change its type to Markdown. Then, copy-paste the following contents and execute the cell:
# This is a heading

### This is a sub heading

This is plain text.
After executing the cell, the Markdown text will be rendered:
You can learn more about Markdown through their website.
Raw cell
Raw cells contain simple plain text that isn’t executed/rendered further.
Optional - Recall Python language basics
To recall Python language basics, you can always use this Introduction to Python series of notebooks as a learning aid/reference. The notebooks can be downloaded and stored in the ip_python/introduction folder and opened with JupyterLab.